没有项目描述
aiochrome的Python项目详细描述
#爱罗马
[(https://travis ci.org/fate0/aiochrome)
[(https://codecov.io/gh/fate0/aiochrome)
[(https://pyup.io/repos/github/fate0/aiochrome/)
[(https://pypi.python.org/pypi/aiochrome)
[(https://github.com/fate0/aiochrome)
[更多文档](https://fate0.github.io/aiochcrome/)
目录
*[安装铬]
*[安装铬]
*[安装铬]
*[安装铬]
*[开始使用]
*[选项卡管理][选项卡管理]
*[调试调试]
*[调试]
*[示例]
*[调试]
*[示例]
*[参考](参考)
##安装
要安装aiochrome,简单地说:
````
>$pip install-u aiocochrome
`````
`````````
>$pip install-u git+https://github.com/fate0/aiochrome.git
`````
````````
```````
```````
````````
``````````
只需:
```
$google chrome--远程调试端口=9222
````
或无头模式(Chrome版本>;=59):
`````
````
`>或者使用Docker:
```````````
````````````
``或者使用Docker的远程调试端口=9222
``````
````````
`````
`
```````````
`=
````````````>
``````````````````````` python
异步导入aiochrome
async def main():
广为人知。get('request').get('url')
tab.network.requestwillbesent=requestwillbesent=requestwillbesent=requestwillbesent将被发送
;启动选项卡
wait tab.wait tab.start()
;调用方法
;wait tab.network.enable()
;调用方法的超时
;调用方法的超时
;调用方法的超时
wait tab.net.network.enable()
;调用方法的超时
>#等待加载
等待选项卡。等待(5)
loop.close()
````
or(替代语法)
``python
import asyncio
import aiocochrome
async def main():
browser=aiochrome.browser(url=“http://127.0.0.0.0.1:9222”)
tab=wawait browser.new_tab()
/>sync def请求将被发送(kwargs):
打印(加载次数:s]%是的kwargs.get('request').get('url')
tab.set_listener(“network.requestwillbesent”,request_will_be_sent)
await tab.start()
await tab.call_method(“network.enable”)
await tab.call_method(“page.navigate”,url=“https://github.com/fate0/aiochrome”,_超时=5)
wait tab.wait(5)
wait tab.stop()
wait browser.close_tab(tab)
loop=asyncio.get_event_loop()
尝试:
loop.run_until_complete(main())
最后:
loop.close()
````
[chrome devtools]中可以找到更多方法或事件协议](https://chromedevtools.github.io/devtools protocol/tot/)
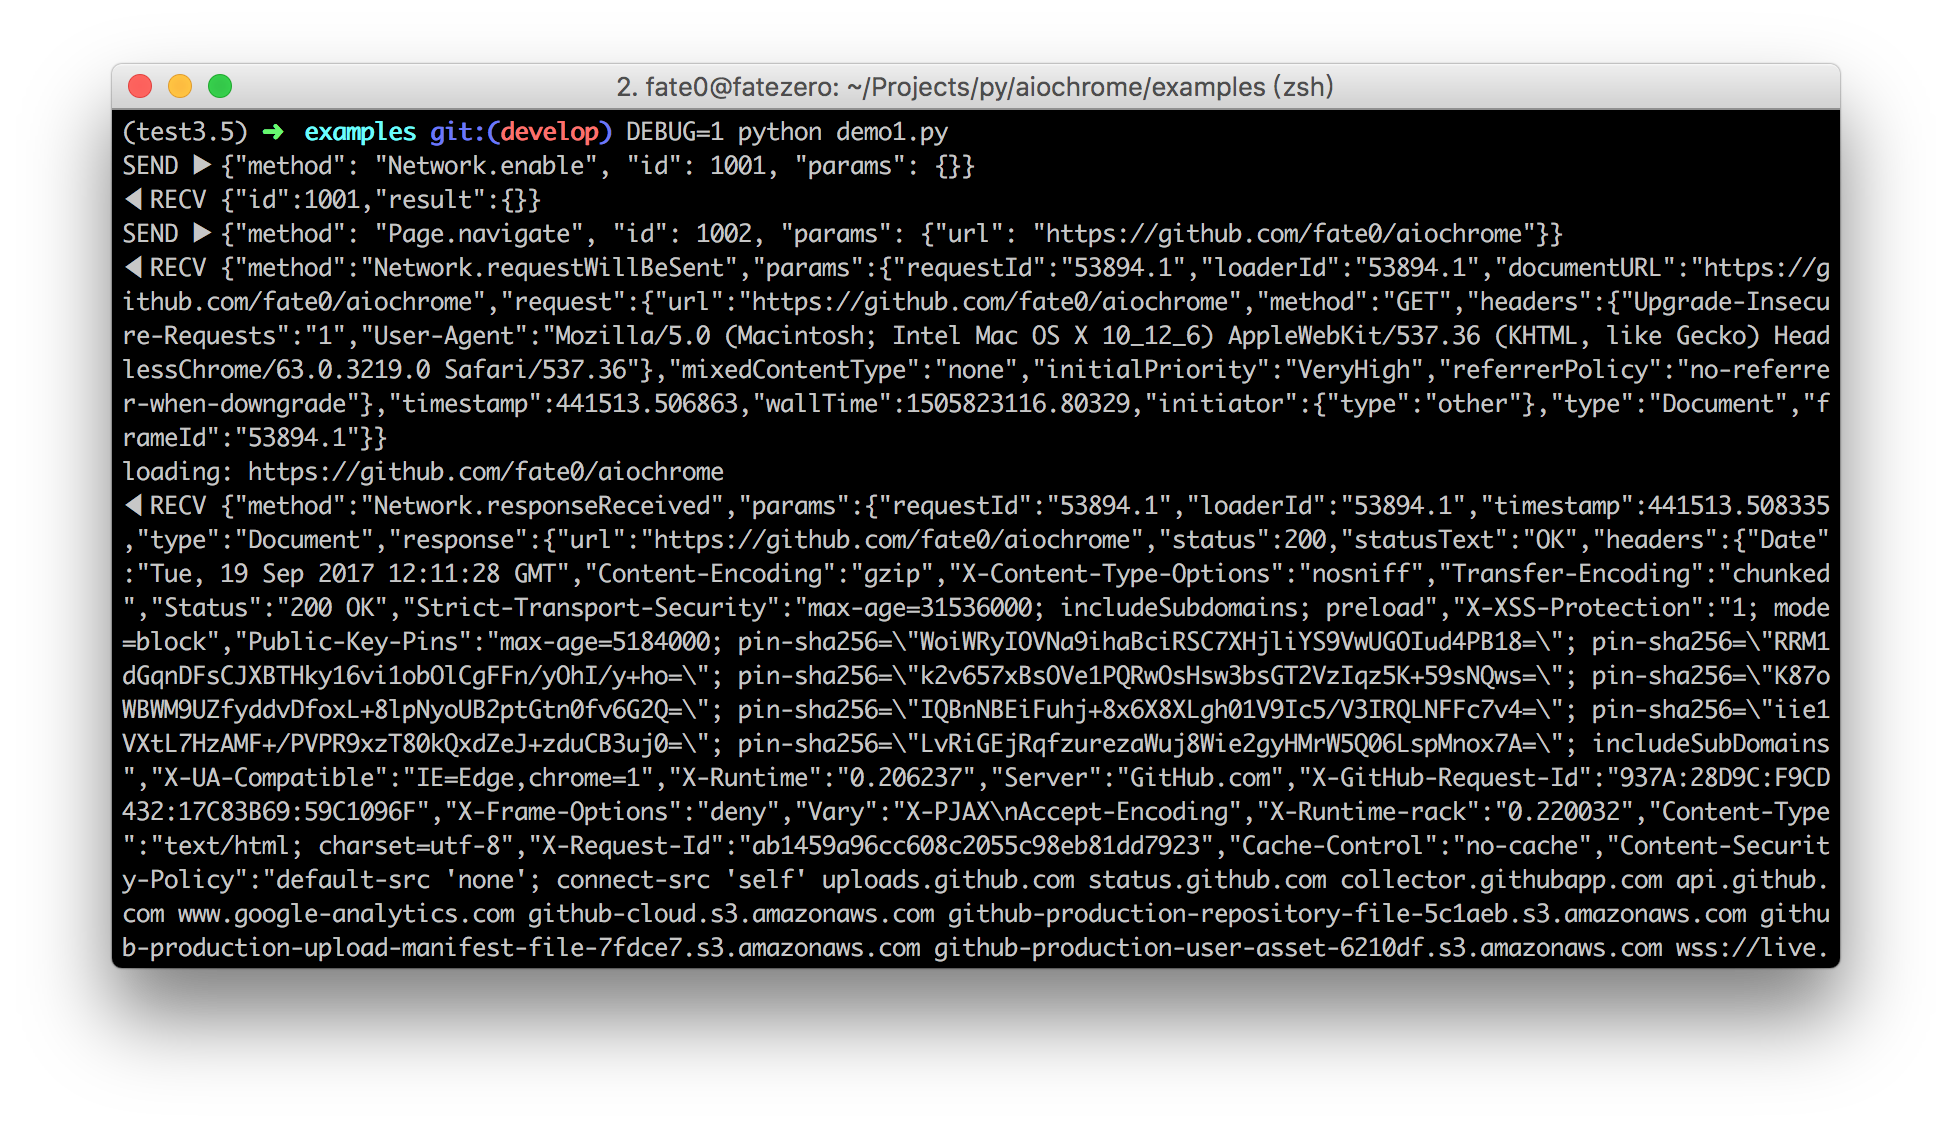
\debug
set debug env variable:
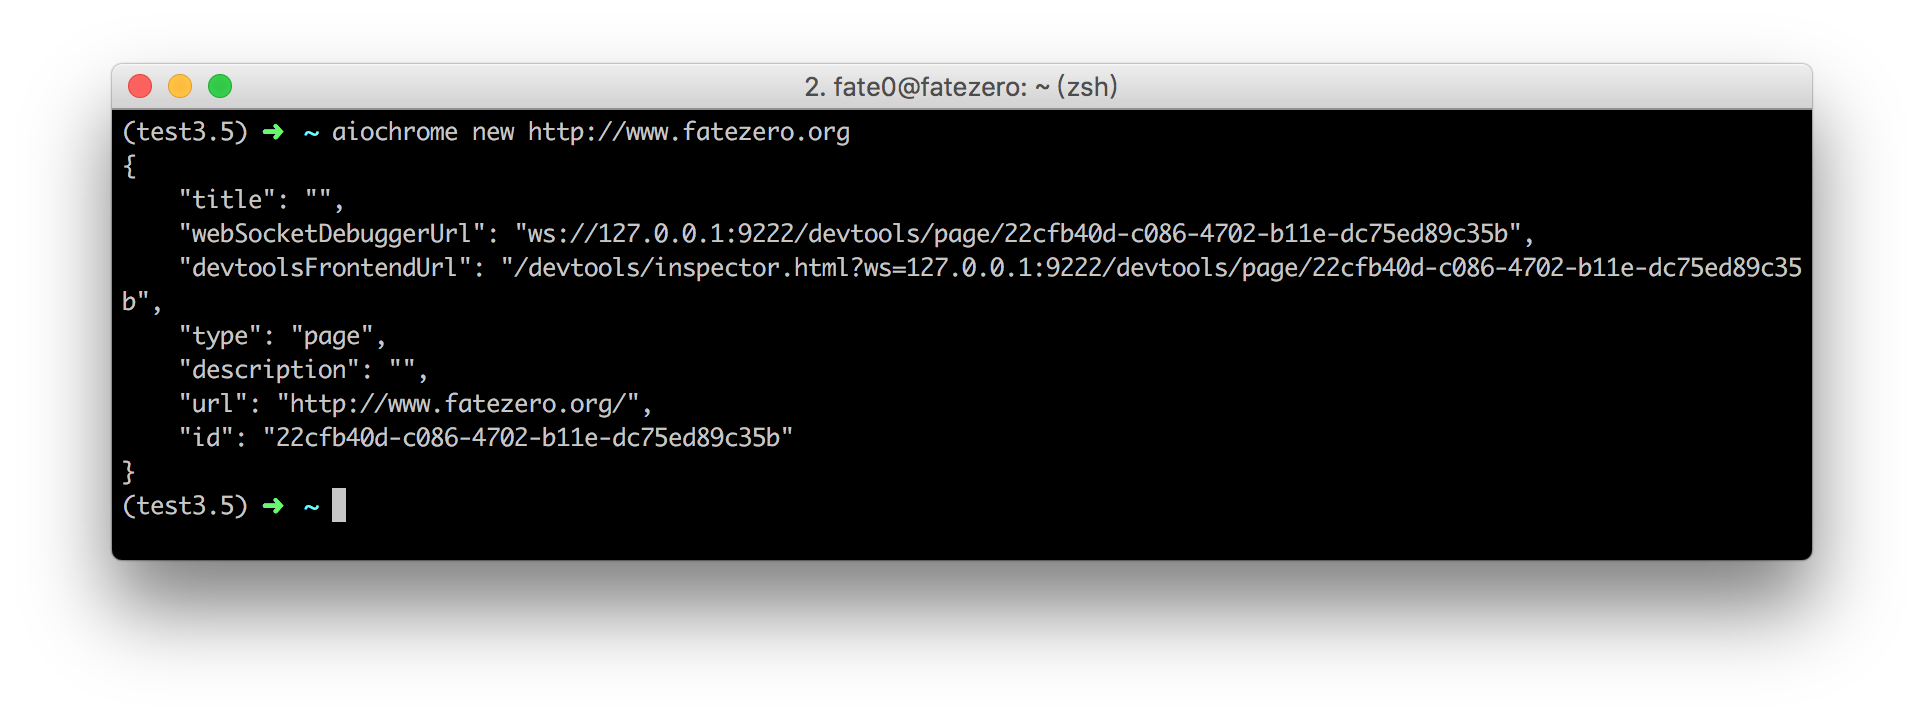
选项卡管理
运行“aiochrome-h”获取更多信息
示例:
*[chrome远程接口](https://github.com/cyrus and/chrome remote interface/)
*[chrome devtools协议](https://chromedevtools.github.io/devtools协议/tot/)
[(https://travis ci.org/fate0/aiochrome)
[(https://codecov.io/gh/fate0/aiochrome)
[(https://pyup.io/repos/github/fate0/aiochrome/)
[(https://pypi.python.org/pypi/aiochrome)
[(https://github.com/fate0/aiochrome)
[更多文档](https://fate0.github.io/aiochcrome/)
目录
*[安装铬]
*[安装铬]
*[安装铬]
*[安装铬]
*[开始使用]
*[选项卡管理][选项卡管理]
*[调试调试]
*[调试]
*[示例]
*[调试]
*[示例]
*[参考](参考)
##安装
要安装aiochrome,简单地说:
````
>$pip install-u aiocochrome
`````
`````````
>$pip install-u git+https://github.com/fate0/aiochrome.git
`````
````````
```````
```````
````````
``````````
只需:
```
$google chrome--远程调试端口=9222
````
或无头模式(Chrome版本>;=59):
`````
````
`>或者使用Docker:
```````````
````````````
``或者使用Docker的远程调试端口=9222
``````
````````
`````
`
```````````
`=
````````````>
``````````````````````` python
异步导入aiochrome
async def main():
广为人知。get('request').get('url')
tab.network.requestwillbesent=requestwillbesent=requestwillbesent=requestwillbesent将被发送
;启动选项卡
wait tab.wait tab.start()
;调用方法
;wait tab.network.enable()
;调用方法的超时
;调用方法的超时
;调用方法的超时
wait tab.net.network.enable()
;调用方法的超时
>#等待加载
等待选项卡。等待(5)
loop.close()
````
or(替代语法)
``python
import asyncio
import aiocochrome
async def main():
browser=aiochrome.browser(url=“http://127.0.0.0.0.1:9222”)
tab=wawait browser.new_tab()
/>sync def请求将被发送(kwargs):
打印(加载次数:s]%是的kwargs.get('request').get('url')
tab.set_listener(“network.requestwillbesent”,request_will_be_sent)
await tab.start()
await tab.call_method(“network.enable”)
await tab.call_method(“page.navigate”,url=“https://github.com/fate0/aiochrome”,_超时=5)
wait tab.wait(5)
wait tab.stop()
wait browser.close_tab(tab)
loop=asyncio.get_event_loop()
尝试:
loop.run_until_complete(main())
最后:
loop.close()
````
[chrome devtools]中可以找到更多方法或事件协议](https://chromedevtools.github.io/devtools protocol/tot/)
\debug
set debug env variable:

选项卡管理
运行“aiochrome-h”获取更多信息
示例:

*[chrome远程接口](https://github.com/cyrus and/chrome remote interface/)
*[chrome devtools协议](https://chromedevtools.github.io/devtools协议/tot/)
欢迎加入QQ群-->: 979659372

